










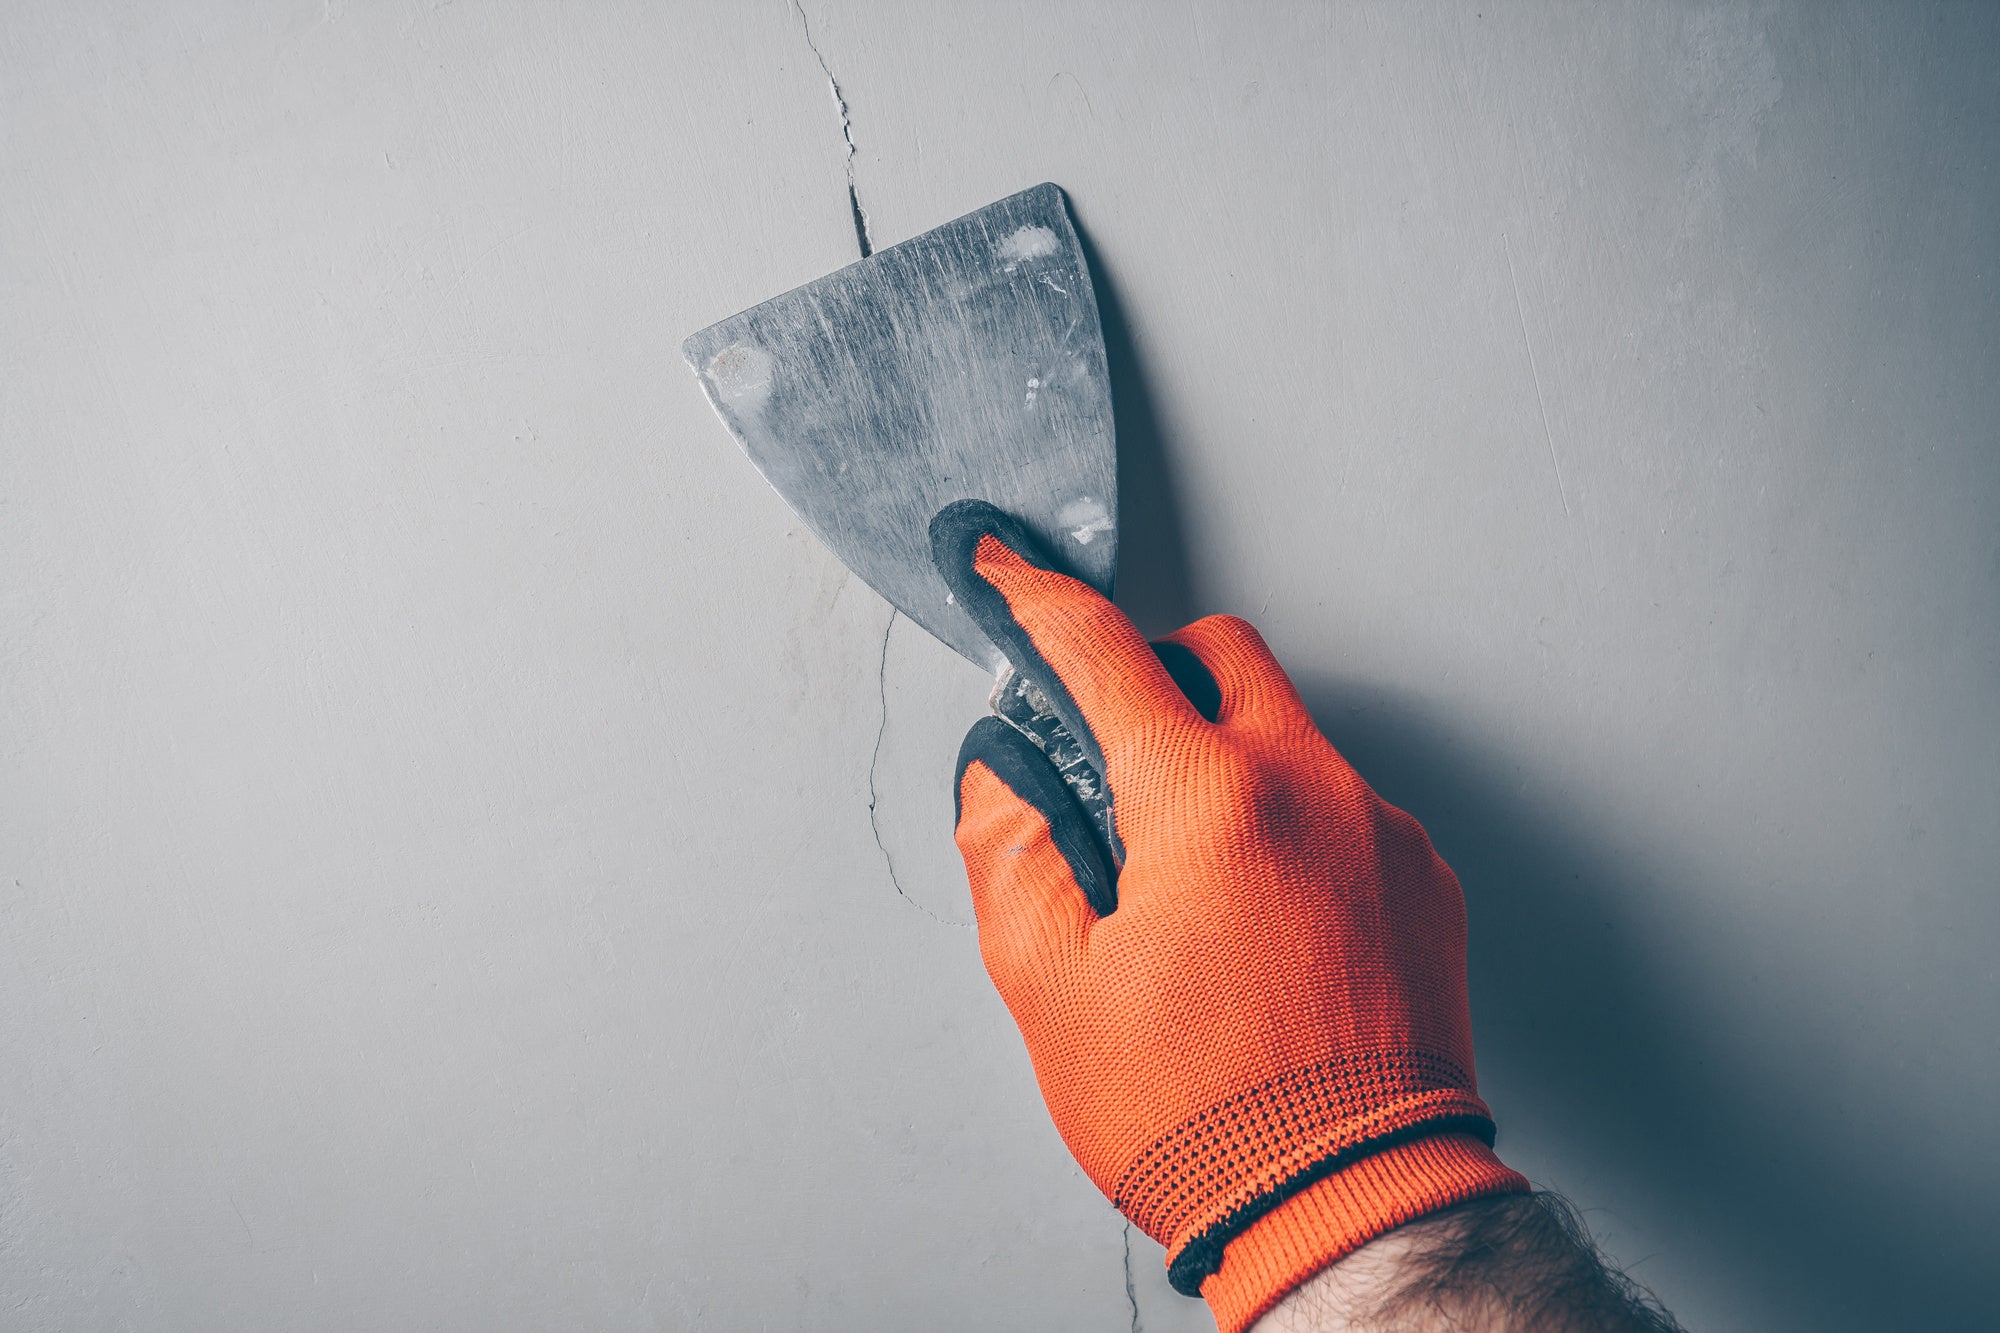
🧱 How to Repair a Crack in an Interior Wall? 🛠️
Welcome to our DIY and interior decoration blog! In this article, we're going to give you practical advice on how to repair a crack in an interior wall. Whether you're an experienced DIYer or a beginner, don't worry, we'll guide you step-by-step to achieve professional results. 💪💡

Crack Assessment 👀🔎
Before you start repairing the crack, it's important to understand its nature and origin. Cracks can be caused by various factors such as natural building movements, temperature variations, or even structural damage. Here are the steps to properly assess the crack:
- Examine the crack carefully: Observe the size, shape, and depth of the crack. A fine, superficial crack can be treated more easily than a wide, deep crack.
- Determine the cause of the crack: Identify if the crack is active (spreading) or inactive (no longer moving). This will help you determine if the underlying cause needs to be repaired before filling the crack.
- Look for other signs of damage: Check for additional signs such as peeling paint, wall deformation, or moisture traces. This may indicate a more serious problem requiring special attention.
Crack Preparation 🧹🧽
Before you fill the crack, you need to prepare the surface for the best results. Here are the steps to follow:
- Clean the area around the crack: Use a cloth or soft brush to remove any dirt, dust, or particles that could interfere with the adhesion of the spackle.
- Slightly widen the crack: Use a scraper or putty knife to slightly widen the crack. This will allow the spackle to adhere better and effectively fill the crack.
- Sand the area: Use fine sandpaper to smooth the edges of the crack and make the surface uniform. This will facilitate the application of the spackle and ensure a professional finish.
Filling the Crack 🧱🎨
Now that you've prepared the crack, it's time to fill it. Follow these steps for a perfect result:
- Apply the spackle: Use a spatula to spread the spackle along the crack. Make sure to completely fill the crack and achieve a smooth surface.
- Smooth the spackle: Use the spatula or a putty knife to smooth the spackle and remove any excess. Make sure the surface is uniform and level with the wall.
- Let dry: Let the spackle dry completely according to the manufacturer's instructions. Avoid touching or disturbing the area during drying.
- Lightly sand: Once the spackle is dry, use fine sandpaper to smooth out imperfections and achieve a perfectly smooth finish.
Finishing and Painting 🖌️🎯
Now that the crack is repaired, it's time to finish to restore a flawless wall:
- Apply a coat of primer: Use a primer to seal the spackle and improve paint adhesion.
- Apply the paint: Choose paint of the same color as the wall and apply it evenly to the repaired area. You can use a brush or a roller, depending on the size of the area to be painted.
- Let dry and evaluate: Let the paint dry completely. Once dry, evaluate the result and make sure the crack is well hidden. If necessary, apply a second coat of paint for a perfect finish.
Preventing Future Cracks 🏢📐
Now that you have successfully repaired the crack, it is important to take steps to prevent it from reappearing in the future. Here are some tips to prevent cracks on interior walls:
- Monitor building movements: If you notice recurring cracks, it may be due to building movements. Consult a professional to assess the situation and take appropriate measures.
- Maintain adequate humidity levels 💧🌡️: Humidity variations can cause cracks. Use a humidifier or dehumidifier to maintain a balanced humidity level in your home.
- Avoid extreme temperature changes 🌡️🔥: Temperature variations can also cause cracks. Make sure to avoid sudden temperature changes indoors by maintaining a constant temperature.
Conclusion
Congratulations, you now know how to repair a crack in an interior wall! By following the steps outlined in this article and using the recommended products, you can restore the integrity of your walls and have a flawless interior. Remember to take the necessary steps to prevent future cracks by monitoring building movements, maintaining adequate humidity levels, and ensuring good ventilation. If you encounter more complex problems, do not hesitate to call a professional for additional expertise.
We hope this article has been helpful and wish you good luck with your repair and interior decoration projects! 🛠️🏡✨